My DIY Digital Grand Piano – Part II
The Start of the Real Work
Never having taken on a task the size of this before, my wife and I were unsure what to try. We considered just roughing the existing finish a bit (you know, just scuffing it decently with some finer grain sand paper, then applying new finishes on top of that). We also thought about must sanding down to the primer layer, hoping it wasn't all just a veneer on top of wood. We finally just decided to start, and see where it would take us.
I got out the orbital sander, some regular old sand paper, a broom end my father had since I was a baby, and we started going to work. Initially I wanted to use something around 200 Grit paper on the orbital, just to see where it got us. It did okay on parts of the body with removing the clear coat, but barely scuffed it in other places.
I finally got a bit of the black to come off, and was down to a white primer (such an odd choice in my opinion for a black top coat, but there it was). I kept working at it and got down to where we could finally see the bare wood. It was a tiny corner spot, and we couldn't tell much about it. I think it was just a thin place, because no matter how much my wife worked on it after that she couldn't get through the paint with the 220. I had a single piece of 80 Grit left, and I let her try it, and BAM! She really started knocking out the work from there.
We made a quick trip to the local hardware store and got some 60 and 80 grit to work with, and picked up another rotating sander. This new sander was really great, and my wife loved it. The 60 grit made pretty quick work of the remaining outer body. I focused on the top edge, front edges, and finer line areas that took a bit more work. My wife eventually scolded me for rounding the edges, so I was a bit more hands on with manual paper for the finder details after that.
At last, we are essentially done with the primary body sanding.
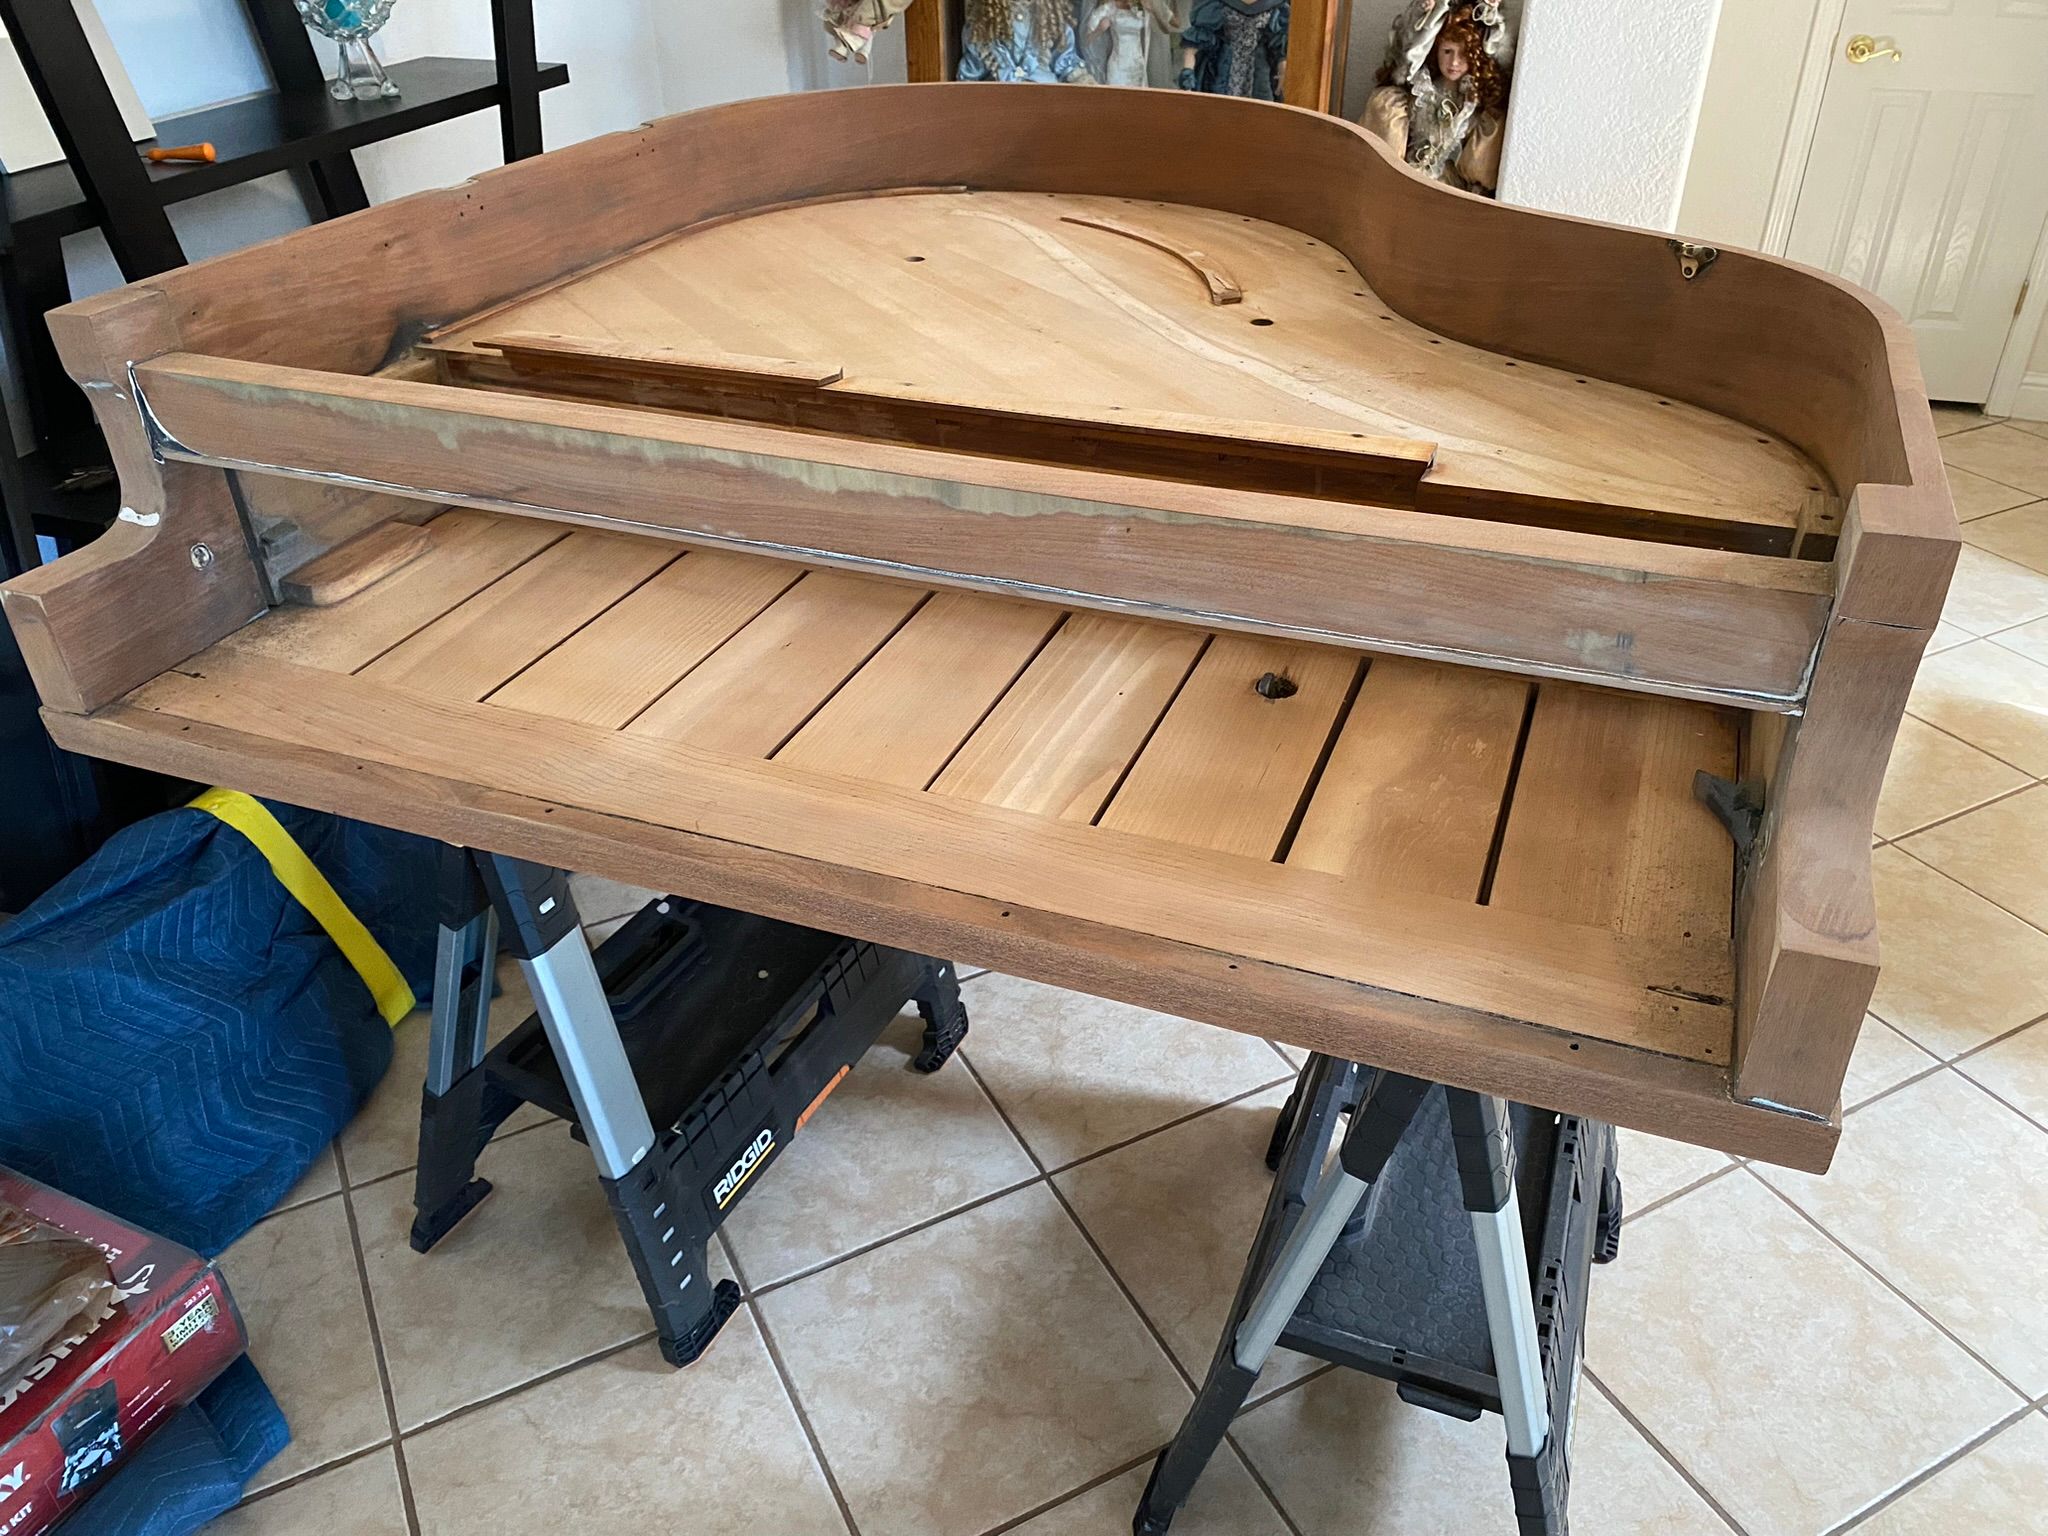
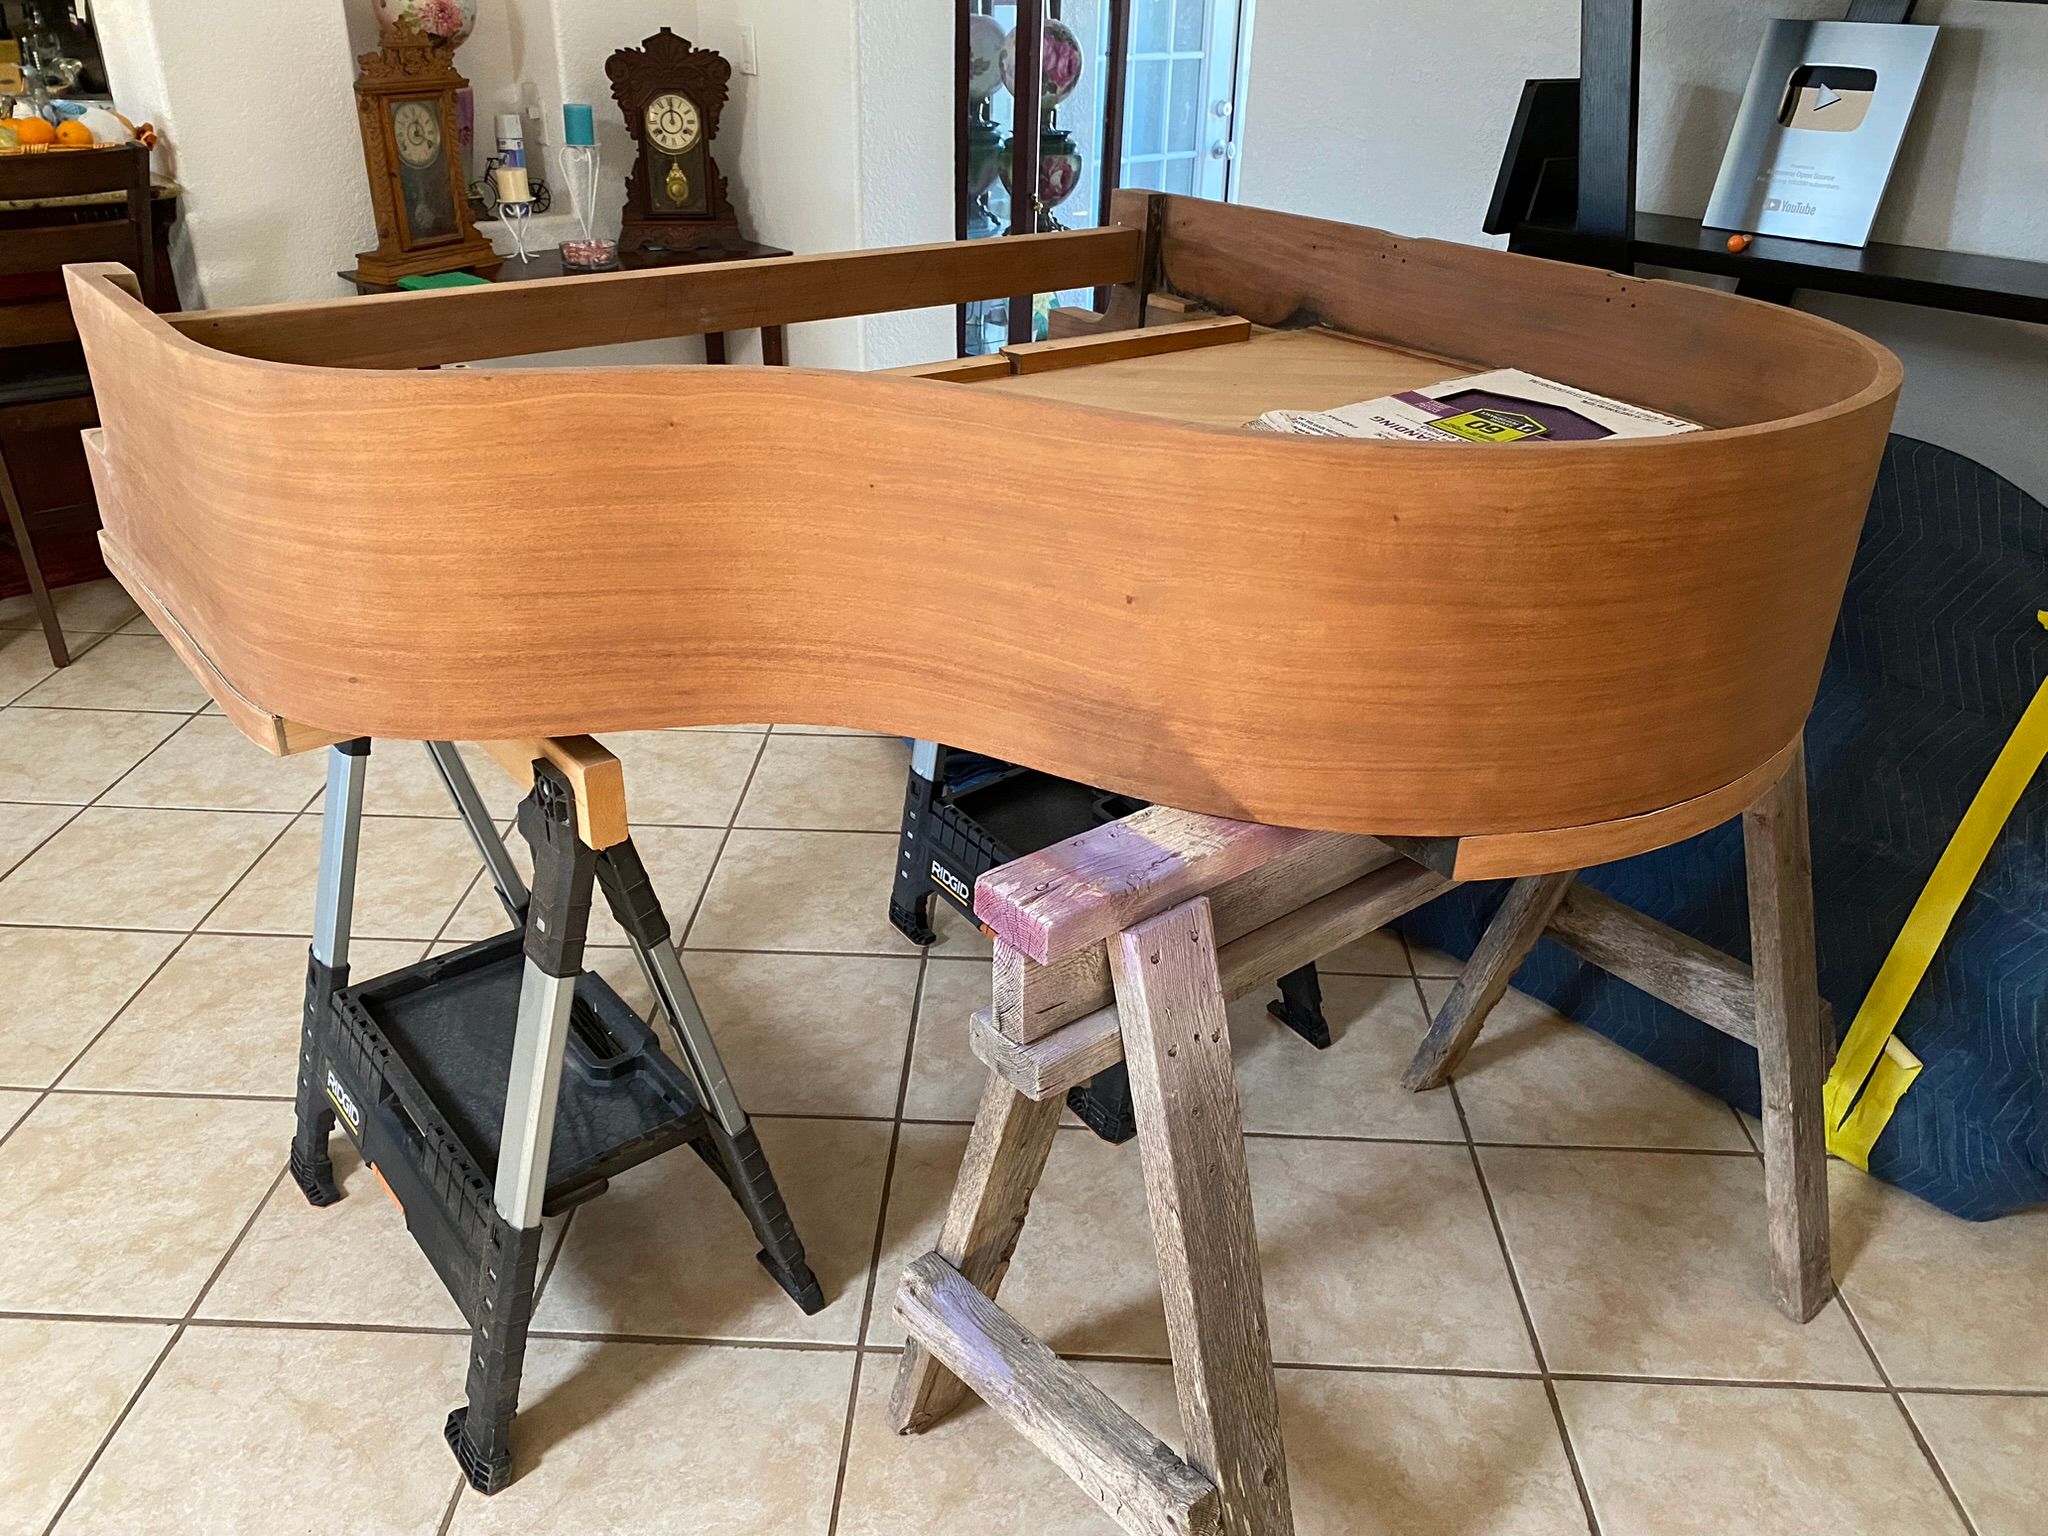
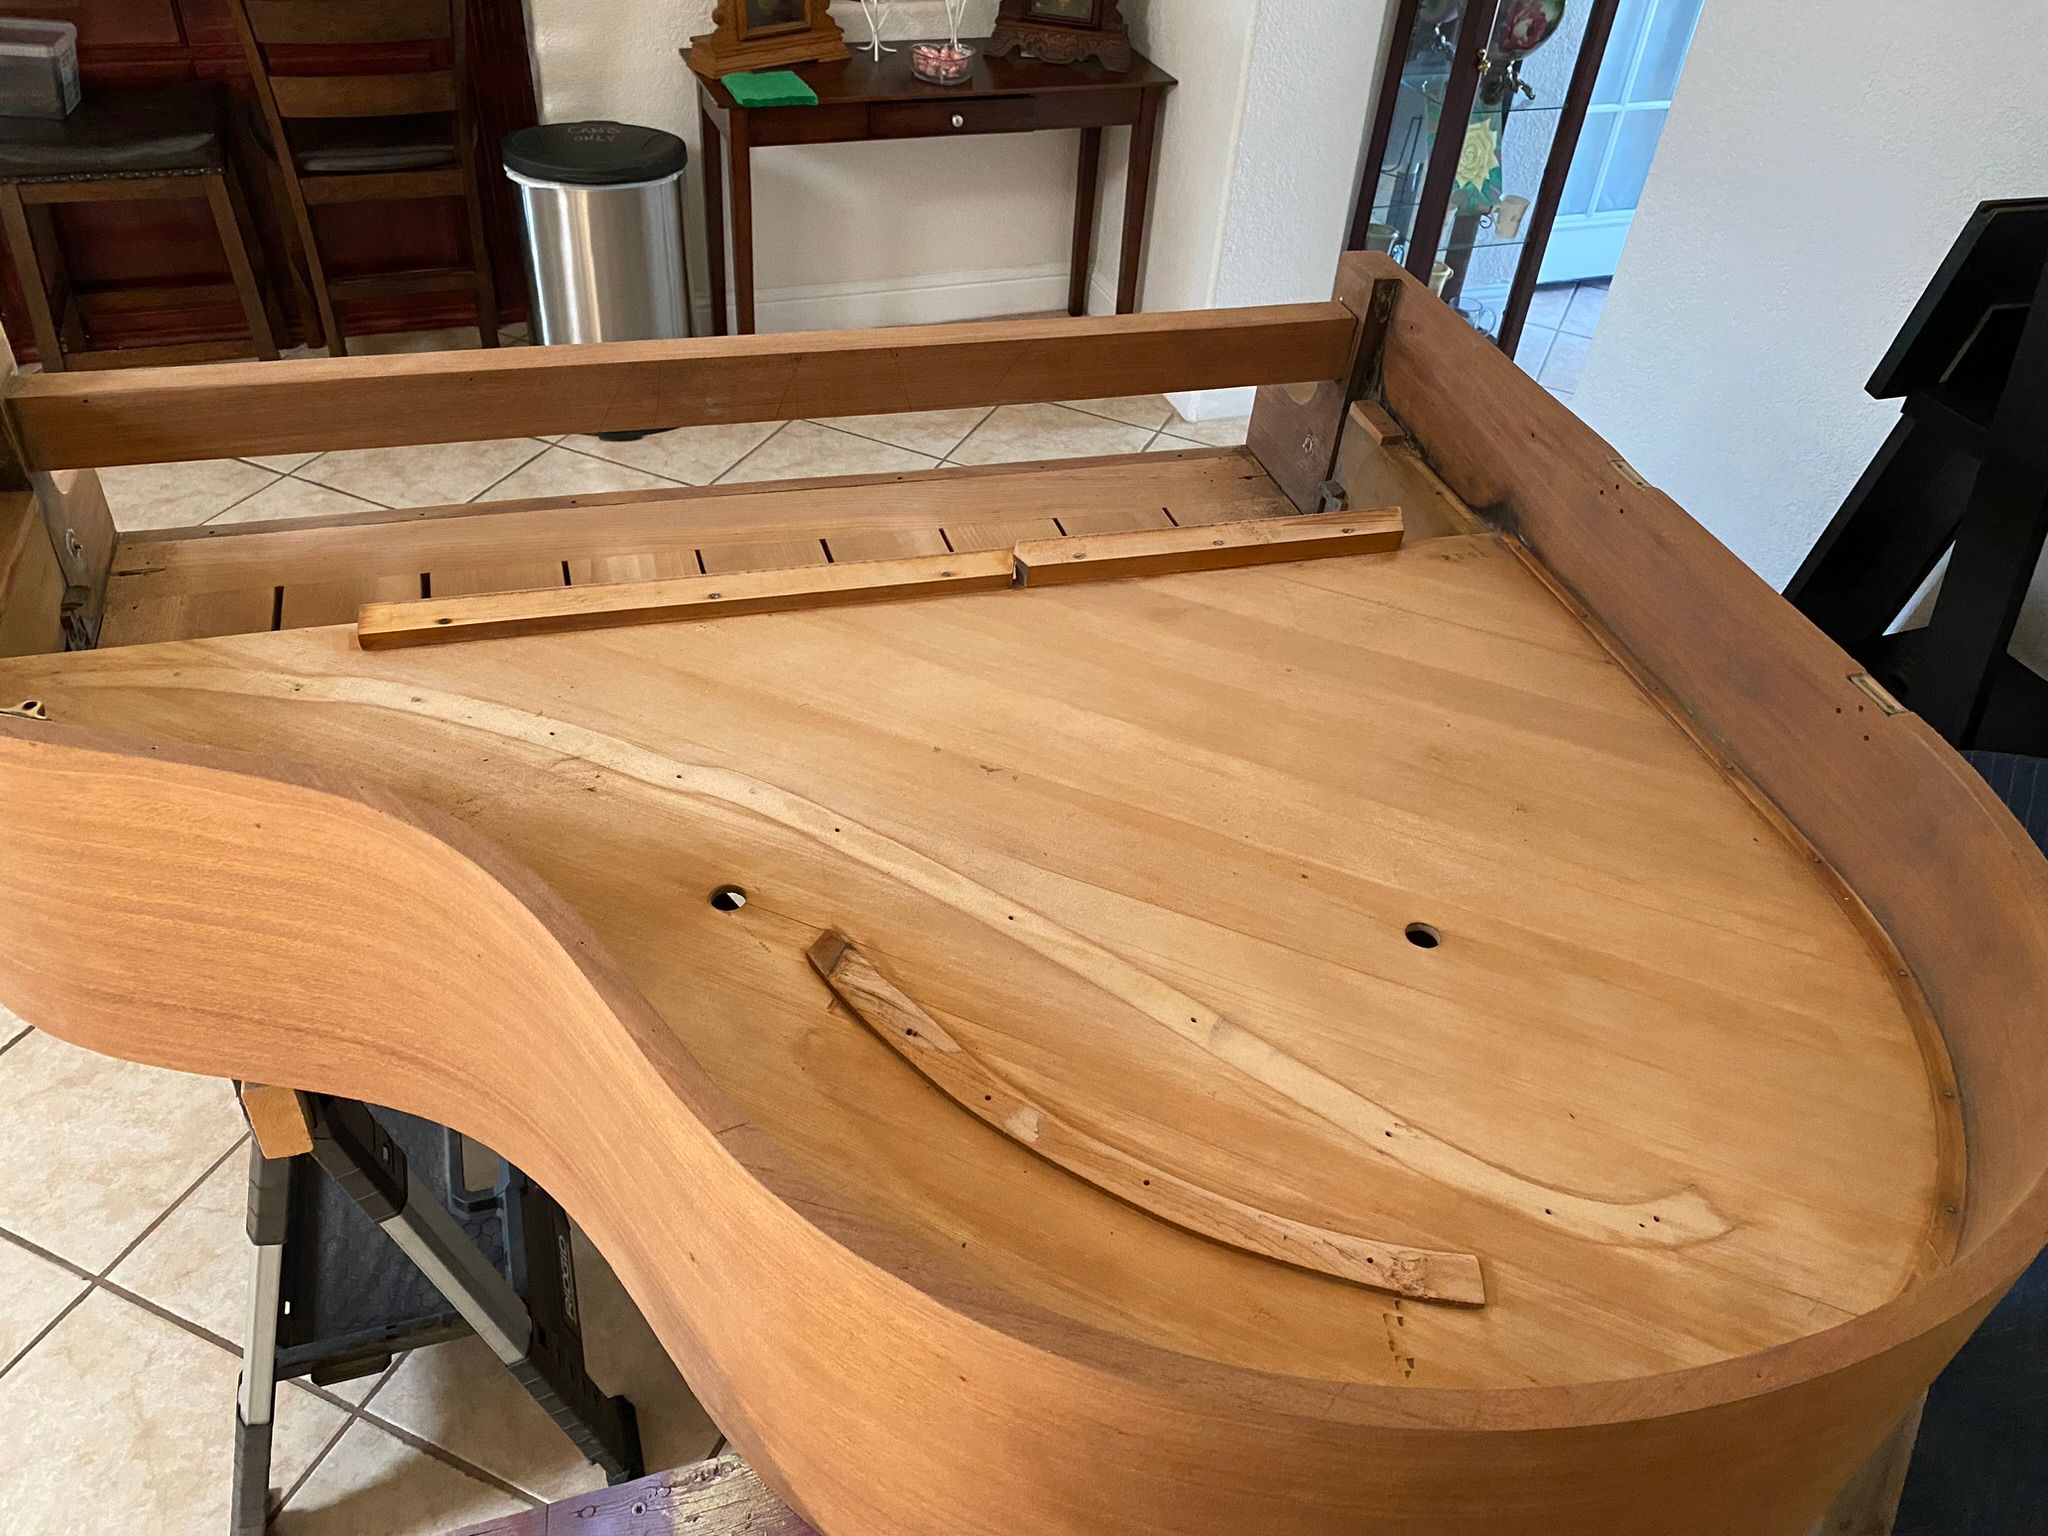
The wood is finally showing, and it is actually really nice looking. We though for a bit about whether we wanted to just try and stain it, but we still don't know what the other pieces may look like. The legs are definitely covered in a veneer. This is problematic, but nothing we can't work around, but I have a feeling we'll end up going back to the black color.
Still a bit of stripping work to be done.