My DIY Grand Part III
After a long lull in productivity toward my DIY Grand Piano goal, my wife and I got back to work about a week before the American Thanksgiving holiday in late November.
We had a plan of just roughing the current paint, then painting over it with new primer, paint, and clear coat. Sanding each phase after a few coats of each to try and give it a really nice shine.
Luckily, my brother-in-law, who happens to paint cars and do body work for a living, called and said he'd be coming for Thanksgiving, and would bring his gear to help us out; but he said we needed to sand everything down to just the wood. No left-over old paint.
We didn't realize what a job that would be. Pianos are made of many different pieces of wood that are, in many cases, very tiny and oddly shaped. This makes it difficult to sand them with power orbital and vibrating sanders in many cases. We did our best though. First we went very rough with 60 and 80 grit paper to get the bulk fo the old pain and primer off. Next, we moved to a 240 grit to smooth it out a bit more, and finally finished with a 400 grit.
Here's what our progress on one of the larger pieces looked like.
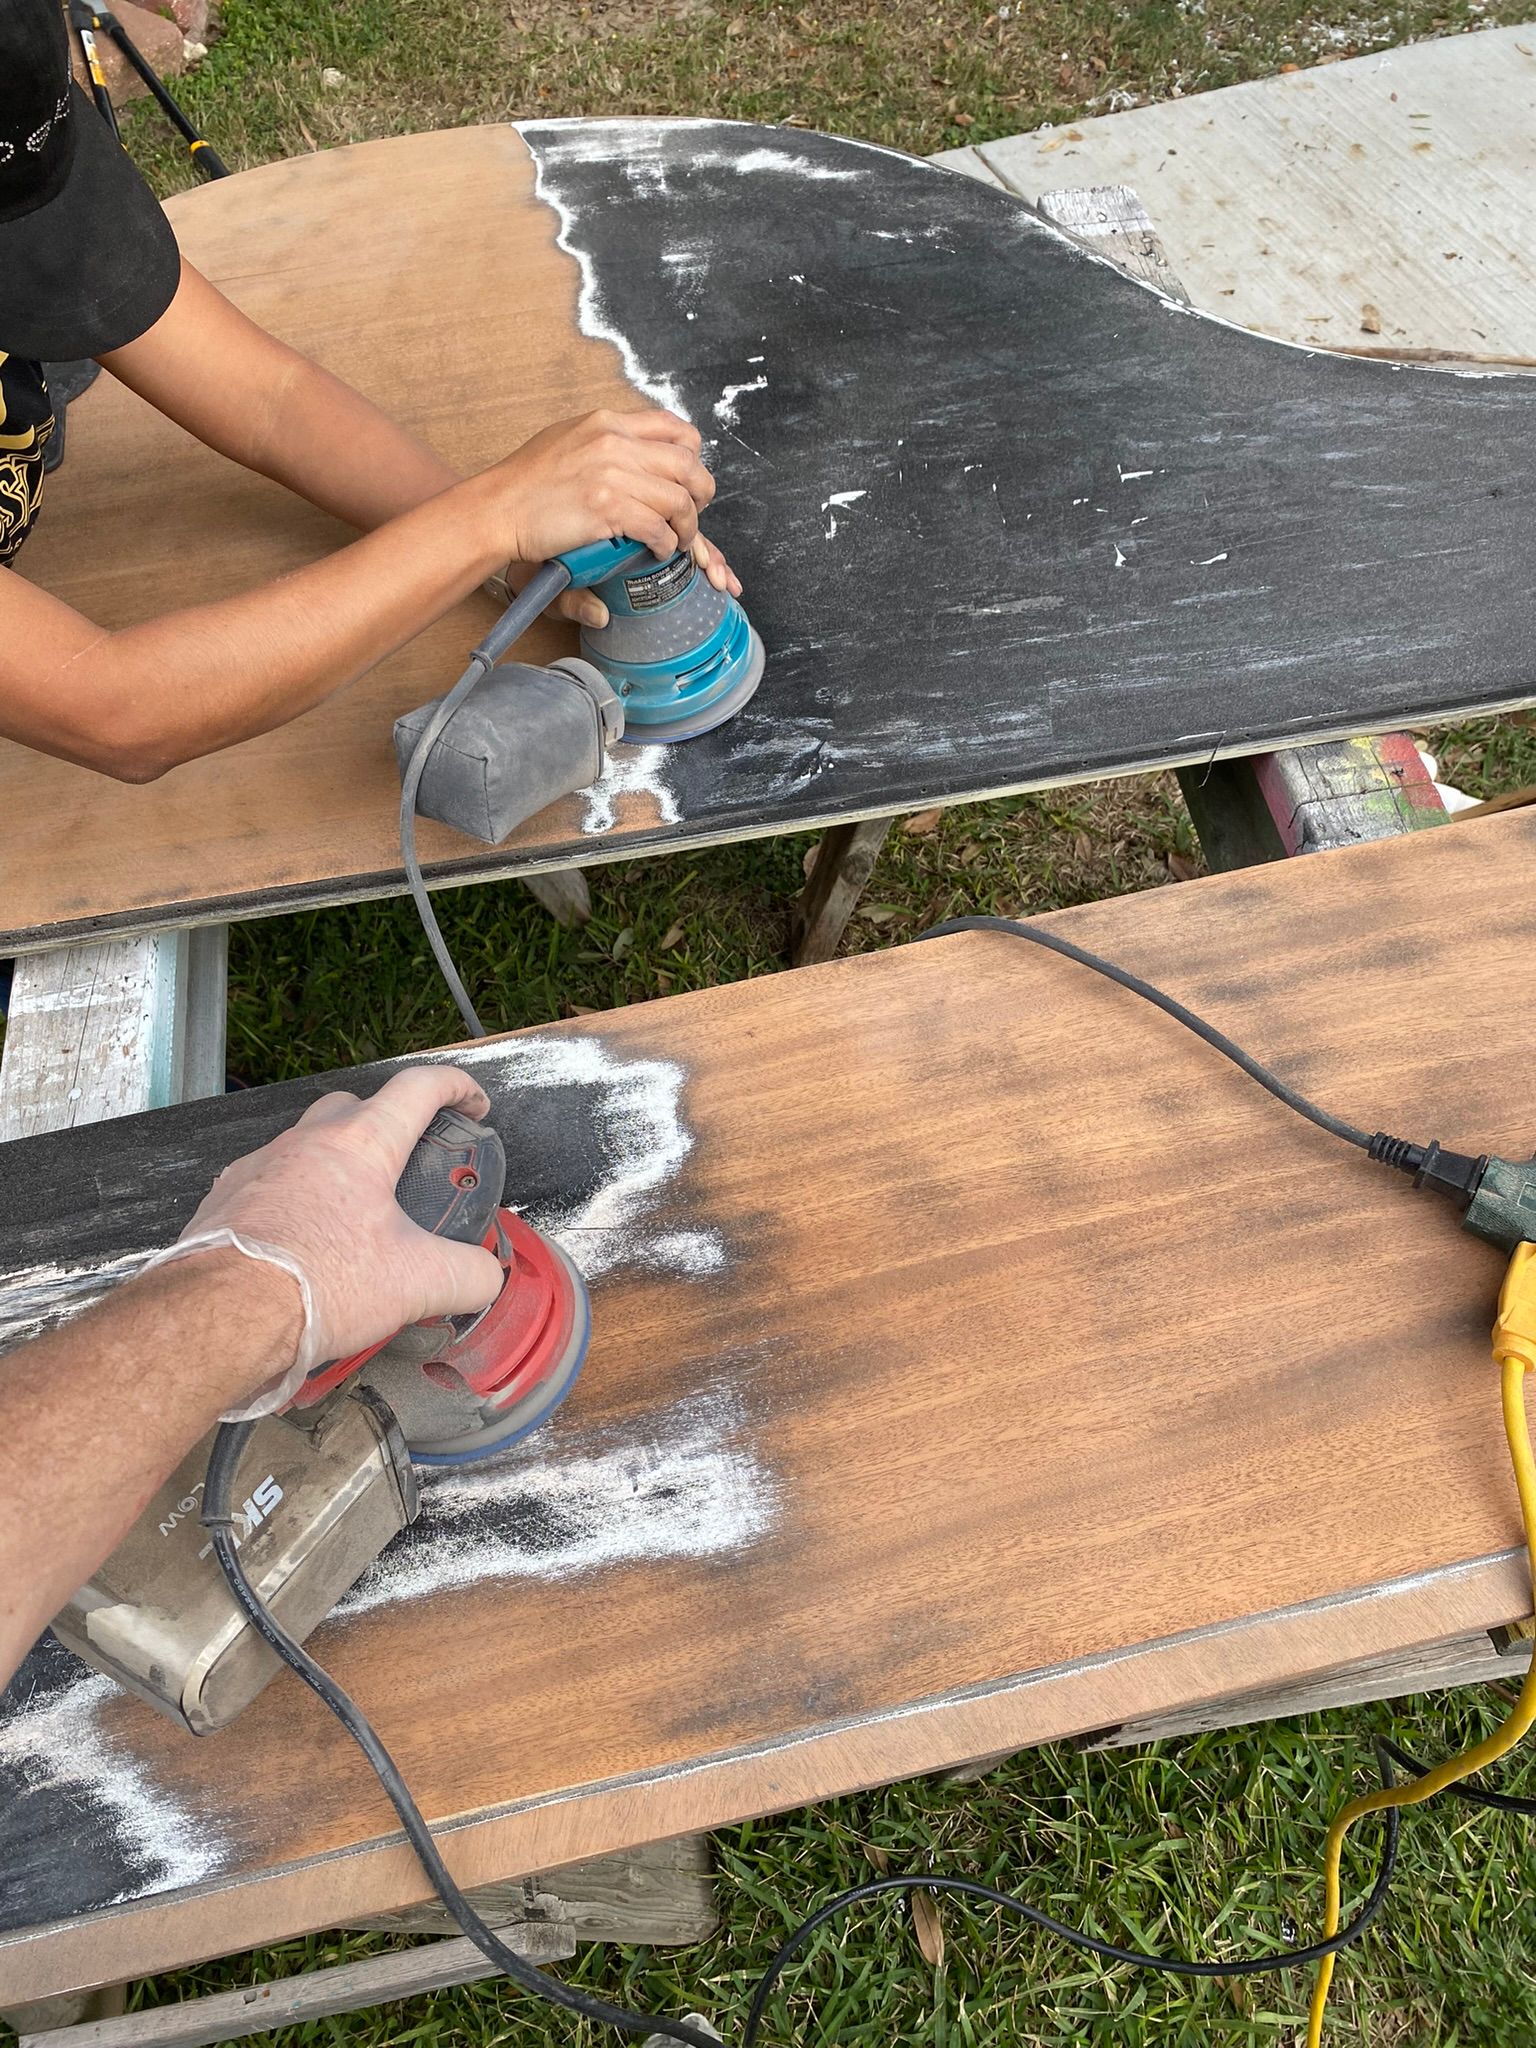
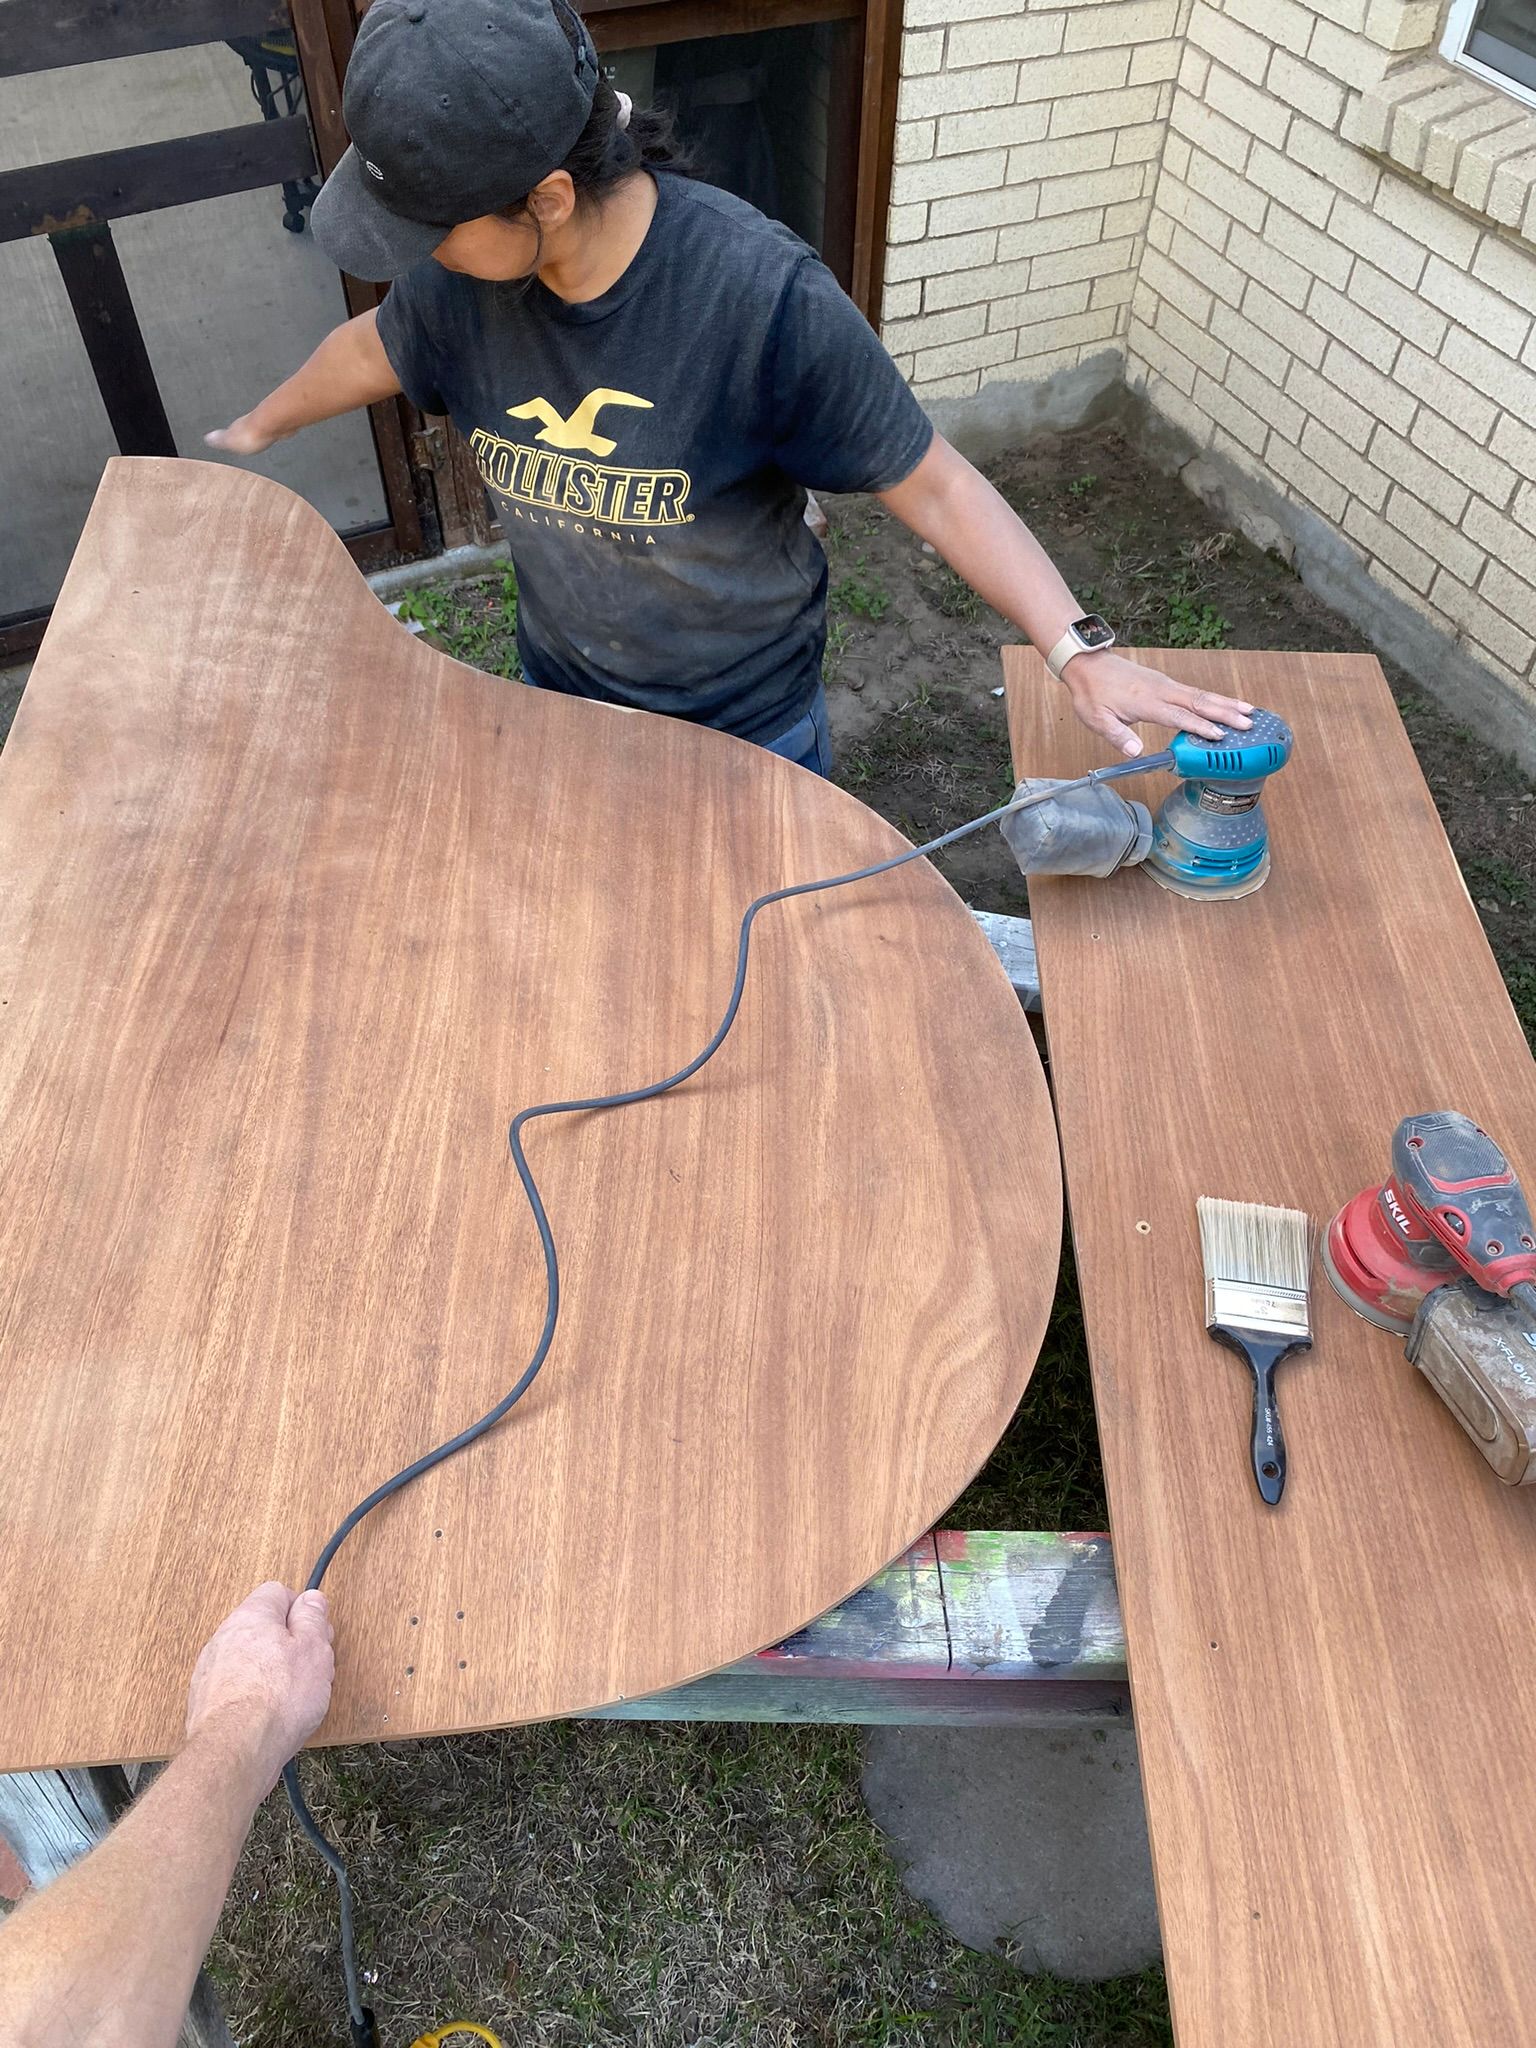
Those two parts of the lid took us about two hours total to sand cleanly. The issue we kept running into was the use of veneer on the different parts. Initially I wondered why on Earth anyone would do that to such a beautiful instrument, but thinking about it I realized, only 2 sides of most wood pieces really look good a lot of times. The edges often don't look as good, so to keep the Piano uniform, and given it's age, possibly to allow for the tapered edges to be more clean, the veneer was put in place. At any rate, the veneer was troublesome for me, as I don't see well, and I sanded through it in a couple of places. Nothing a bit of wood glue and sanded wood savings can't patch though.
Once my wife's brother arrived, he got to work almost immediately. Now, this is a professional auto painter who normally works in a fully functional shop with all the tools and accessories he needs. Here, 350 miles from his shop, we don't have all of that. We had to make due, so my wife purchased an inexpensive 10 foot x 20 foot Canopy with attachable walls. It was fine. We, luckily had some really great cardboard and plastic around from a recent pallet purchase my wife made for her eBay store, and we used that for the floor.
The canopy wasn't overly well made, but was good enough for what we needed. The important part was it kept the wind out (mostly). Unfortunately, the wind was pretty harsh on the day my brother-in-law was painting, but the canopy was good enough for our purposes.
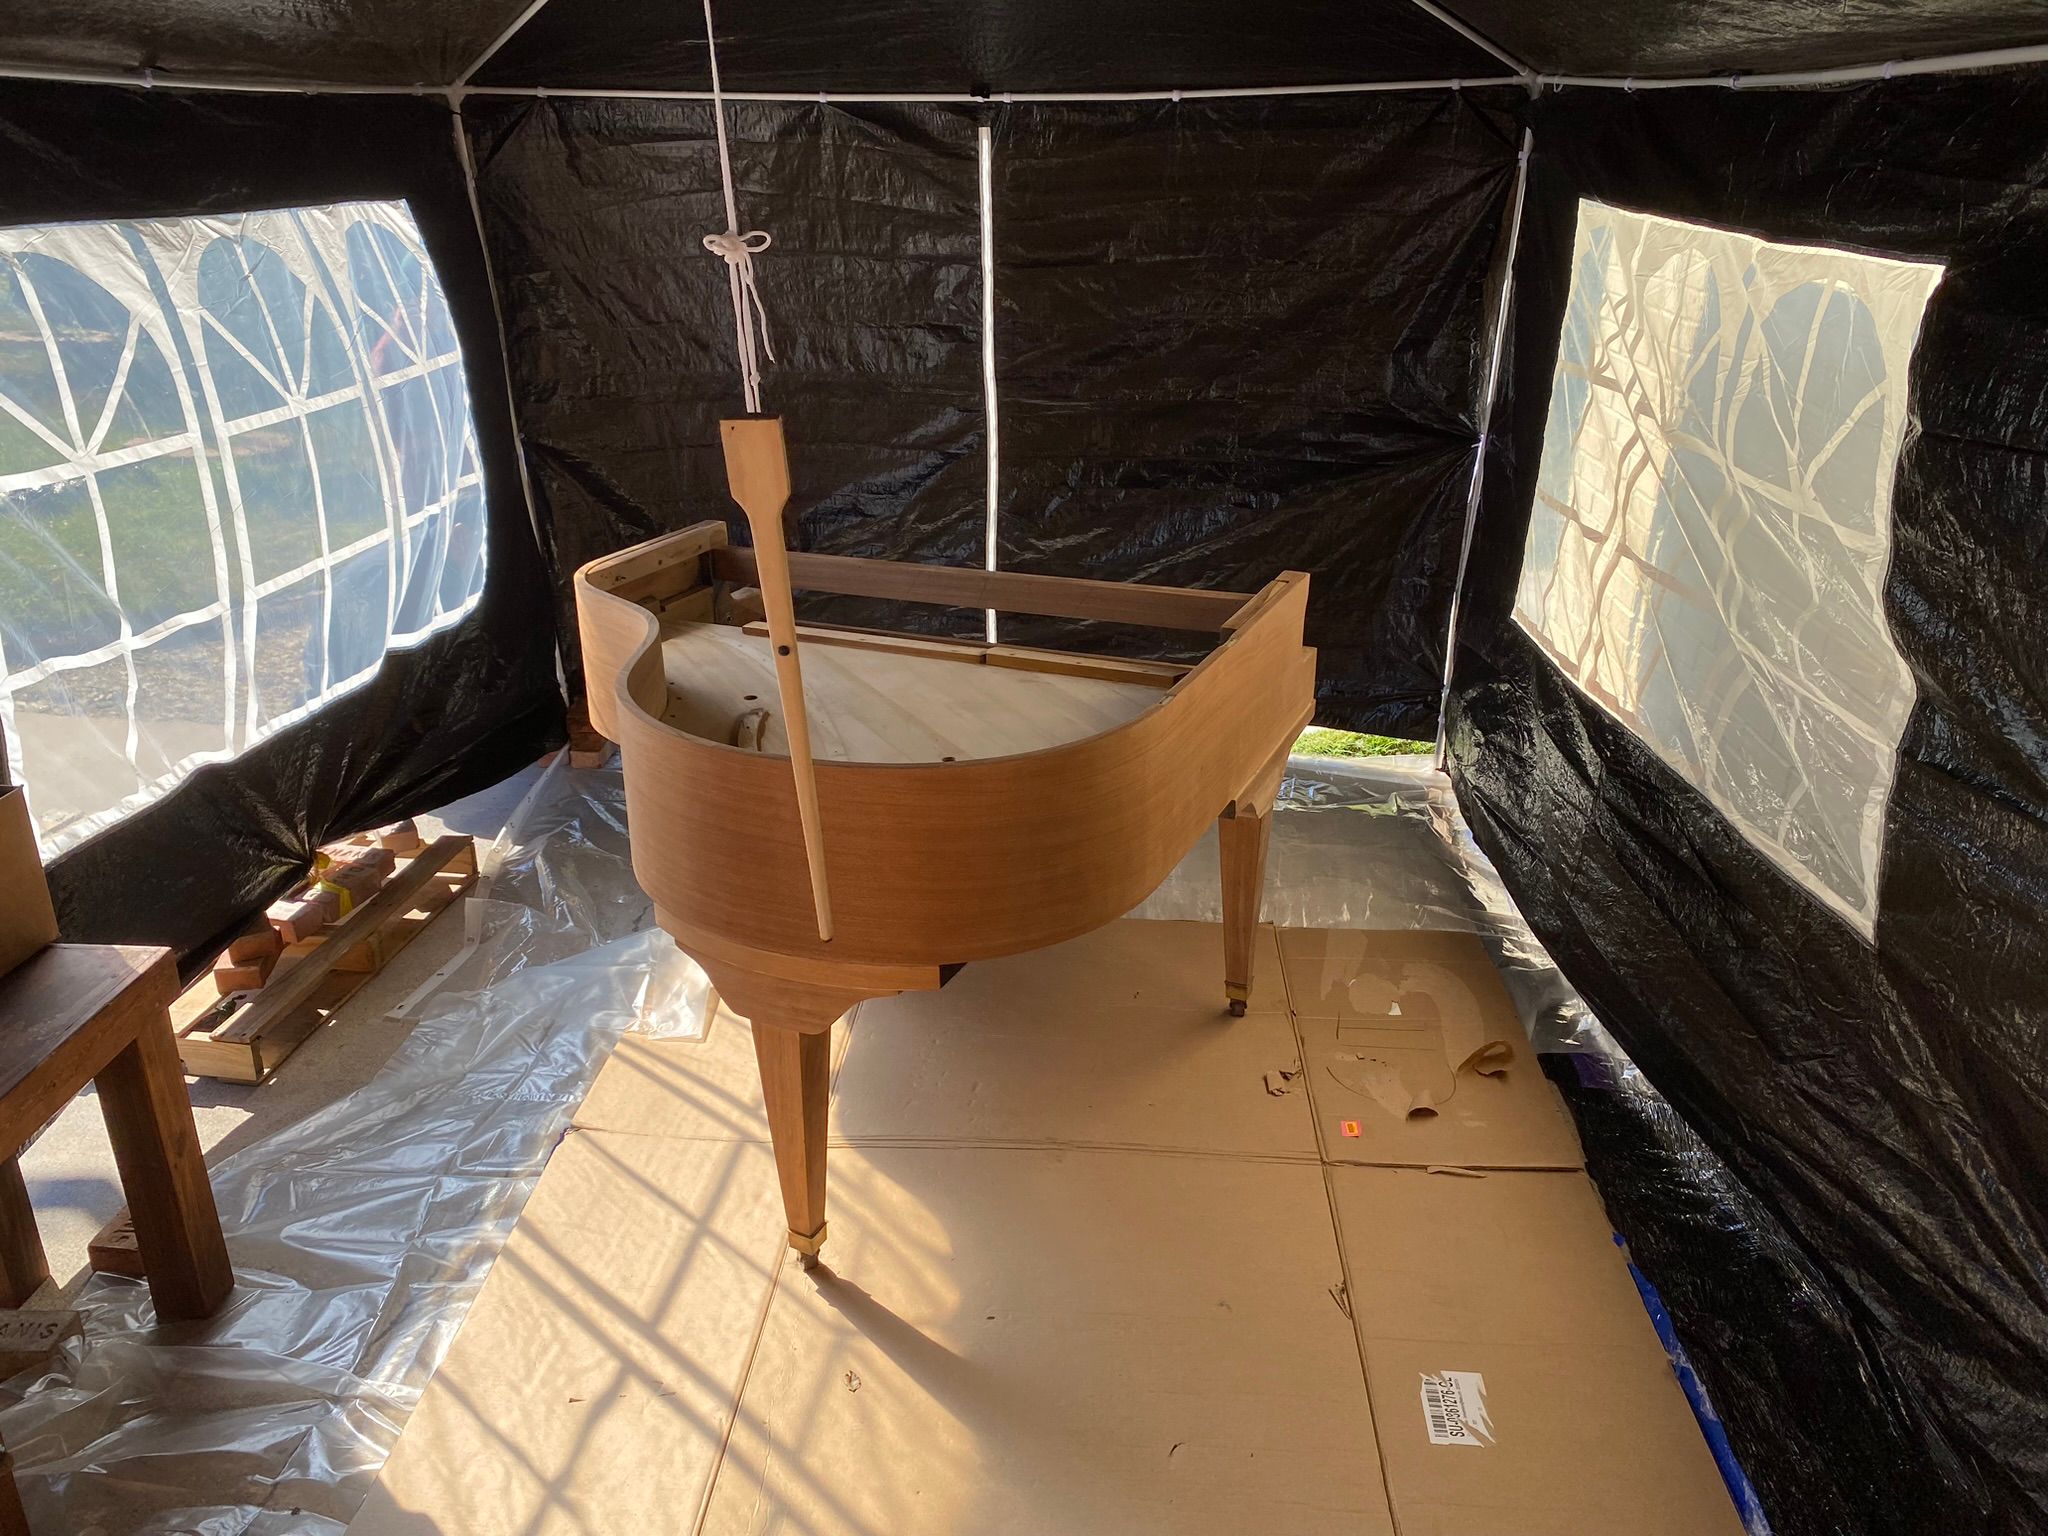
After a bit of setup, the priming process began. It took about 15 minutes, and then we allowed it to dry for a little over an hour. The sun hitting the black of the canopy and walls really warmed it up nicely inside the space, and the primer dried a bit quicker than we thought it might. We started sanding the primer down, then did another few layers, and repeated the process. The second time, we sanded everything really well with some 340 grit paper by hand mostly. My brother-in-law gave a quick, light machine sanding to the whoel thing, but the focus was on hand sanding the whole body at that point.
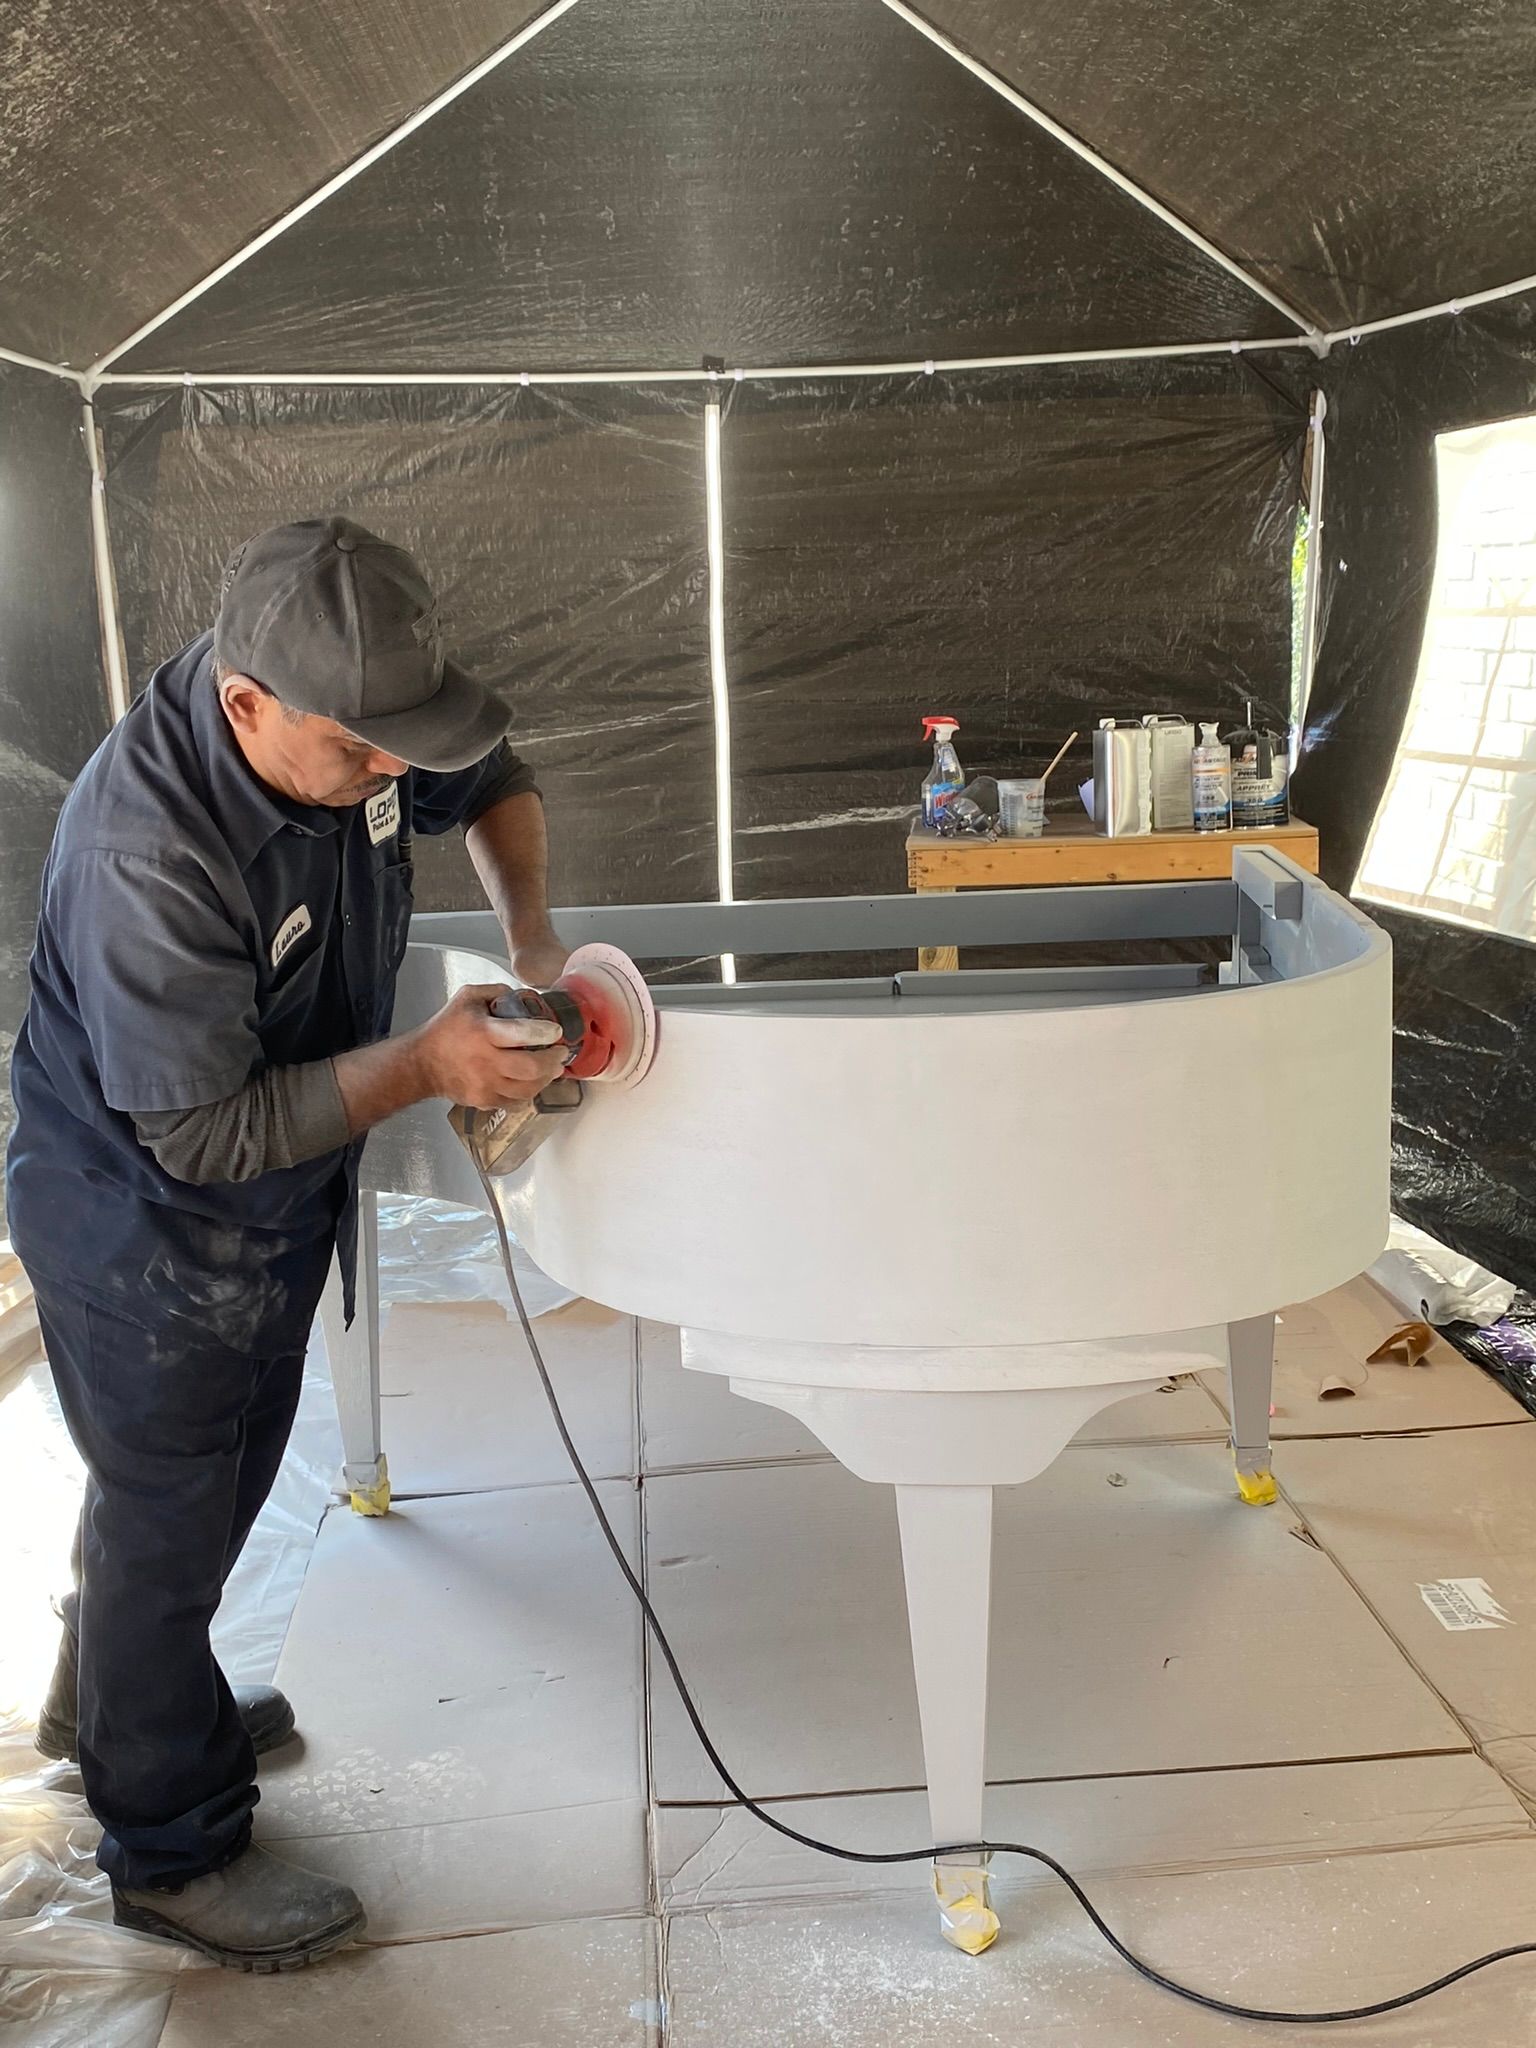
Next, he started painting. It was, again, a fairly quick process. Each time took him around 15 minutes, then he'd wait for 10 – 15 minutes for the flashing process (the time it takes the solvent in the paint to evaporate so the next layer can be applied). Here's what it looked like after the first coat of black.
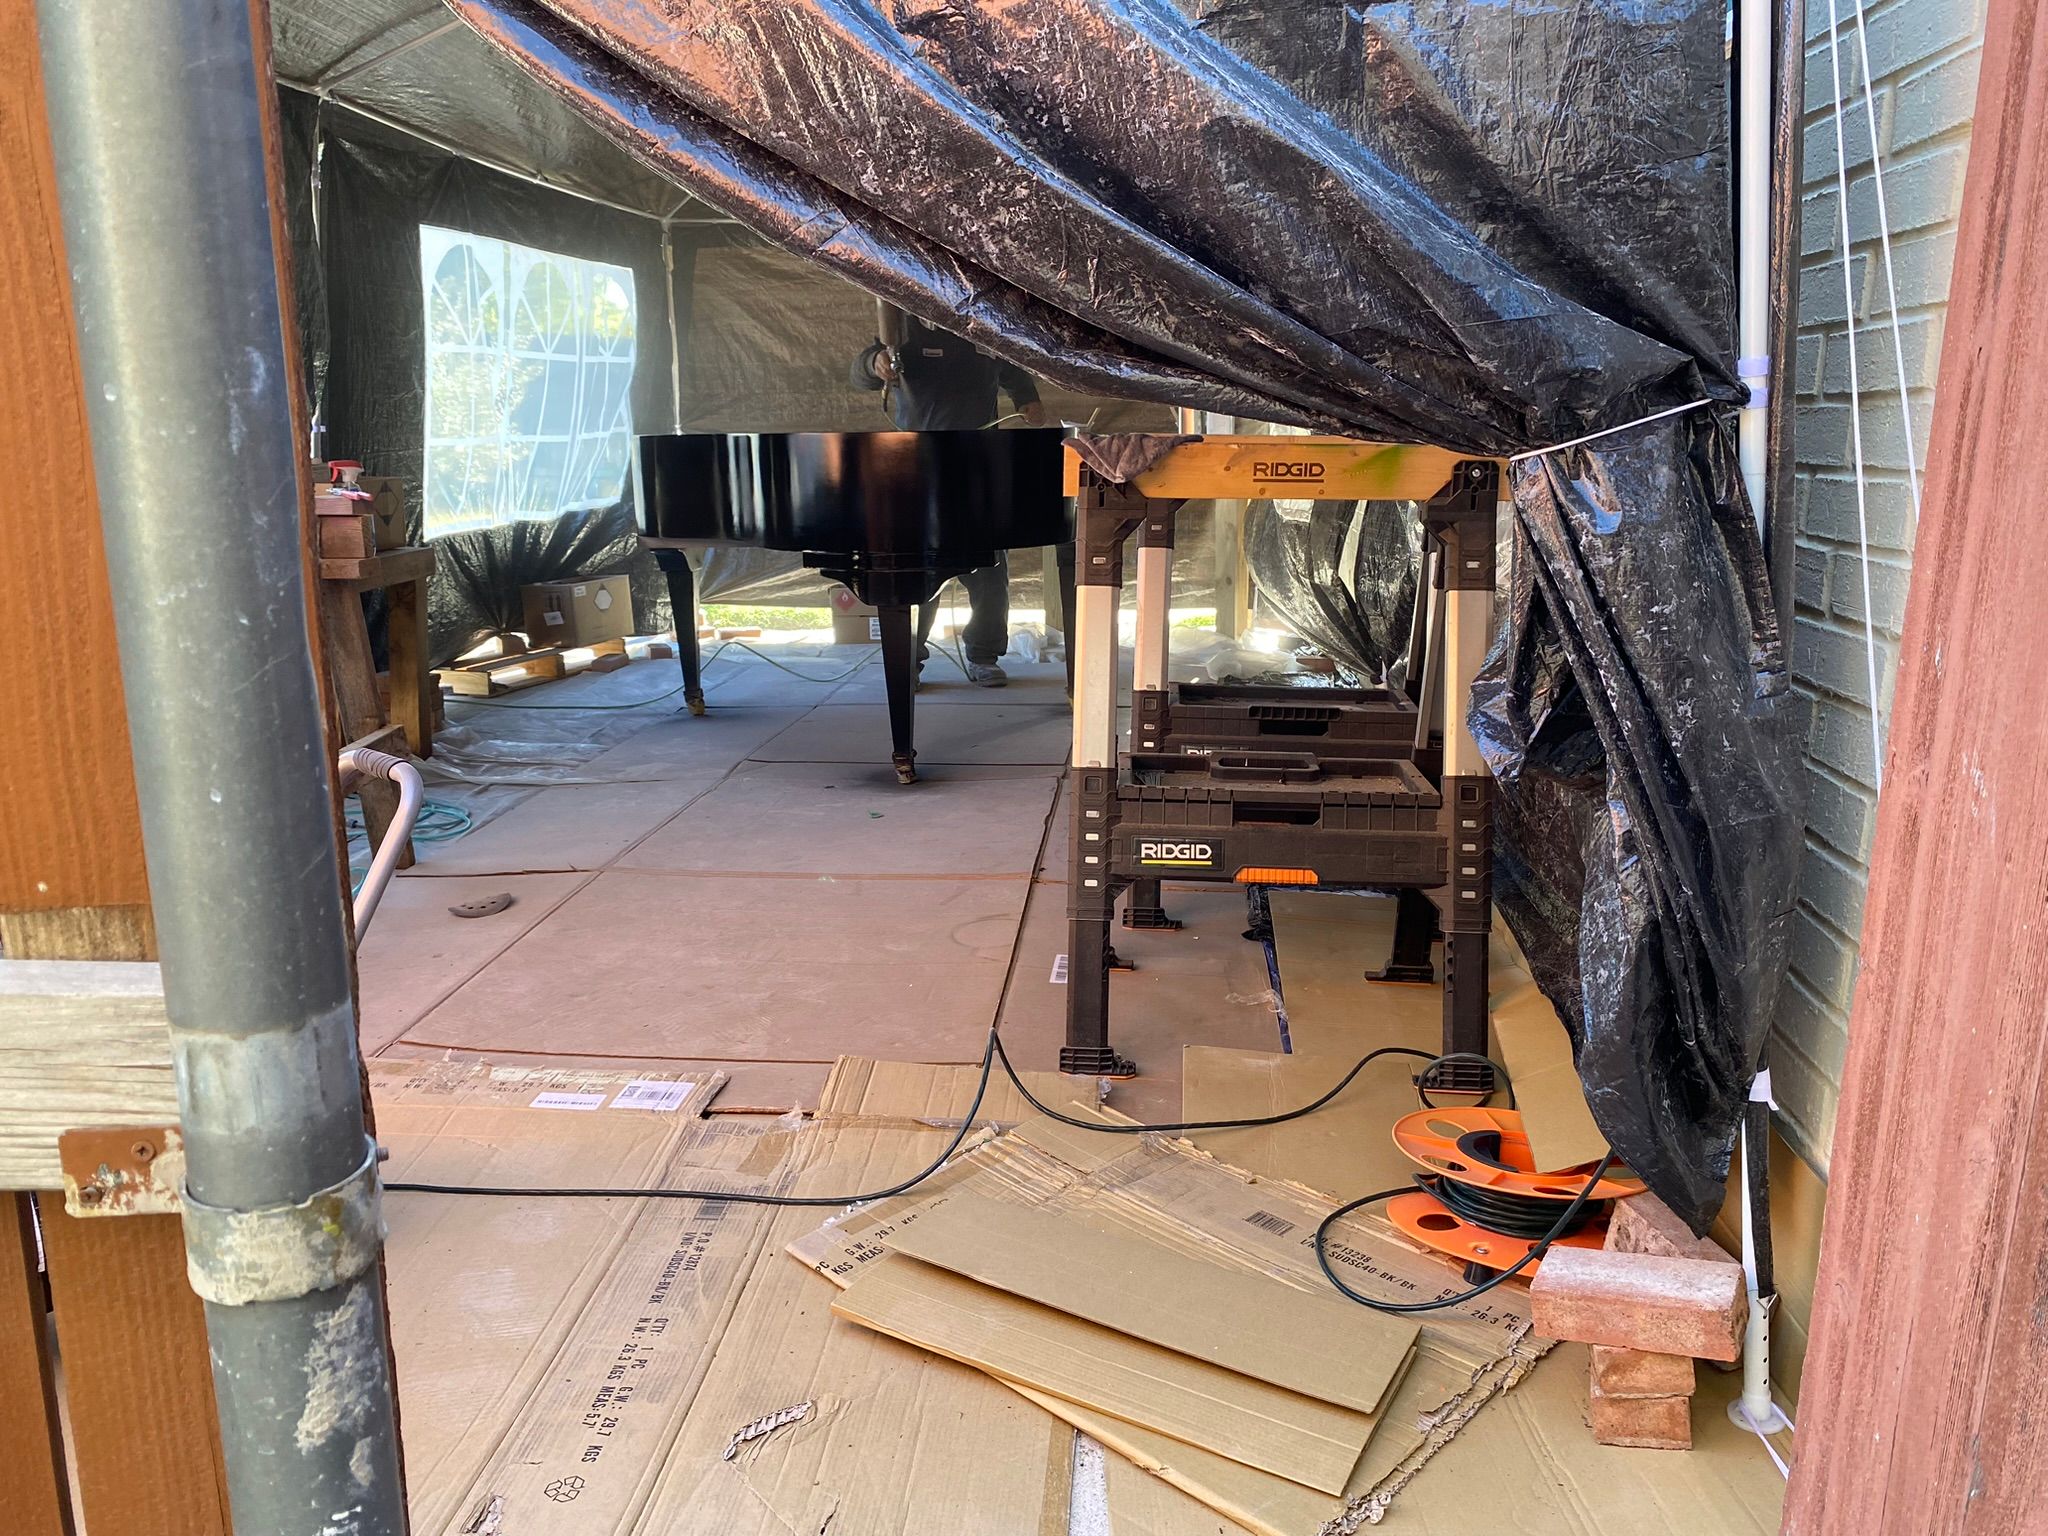
It was already looking 300 times better than when I purchased it. I can't explain the feeling of seeing a project like this starting to come together. It's kind of like waiting for Spring time so you can go on that first swim, or anticipating the end of the last day of school.
After a few layers of jet black paint, it was time for the clear coat. This is the part that really makes a car shine, and in this case, it really makes a piano shine too.
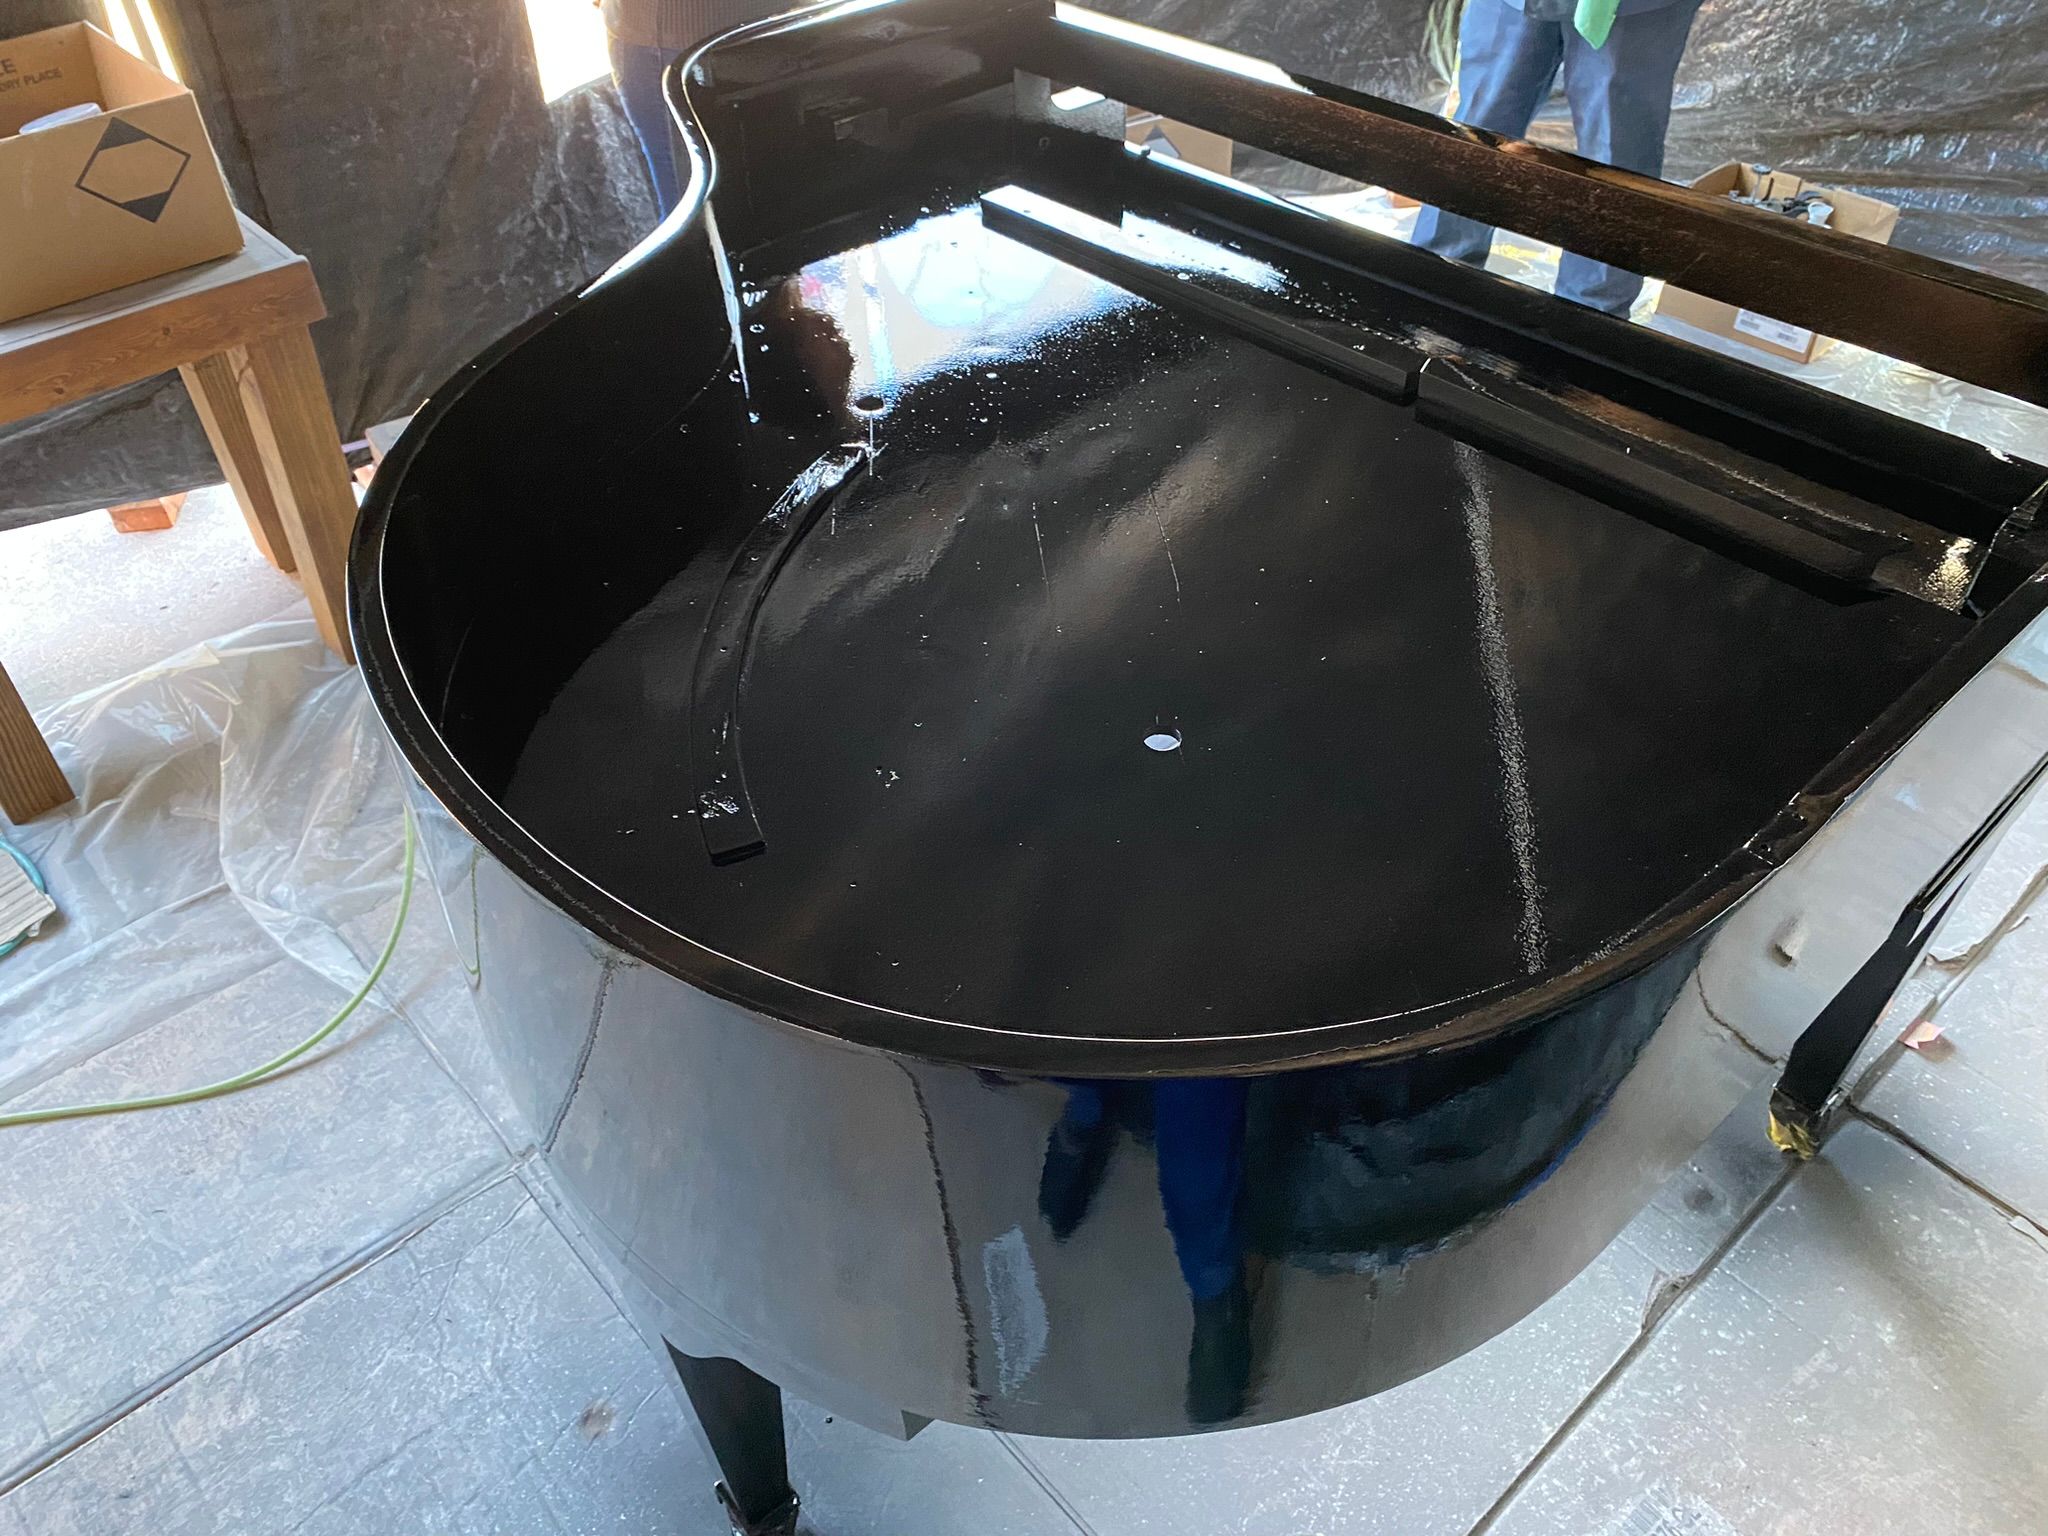
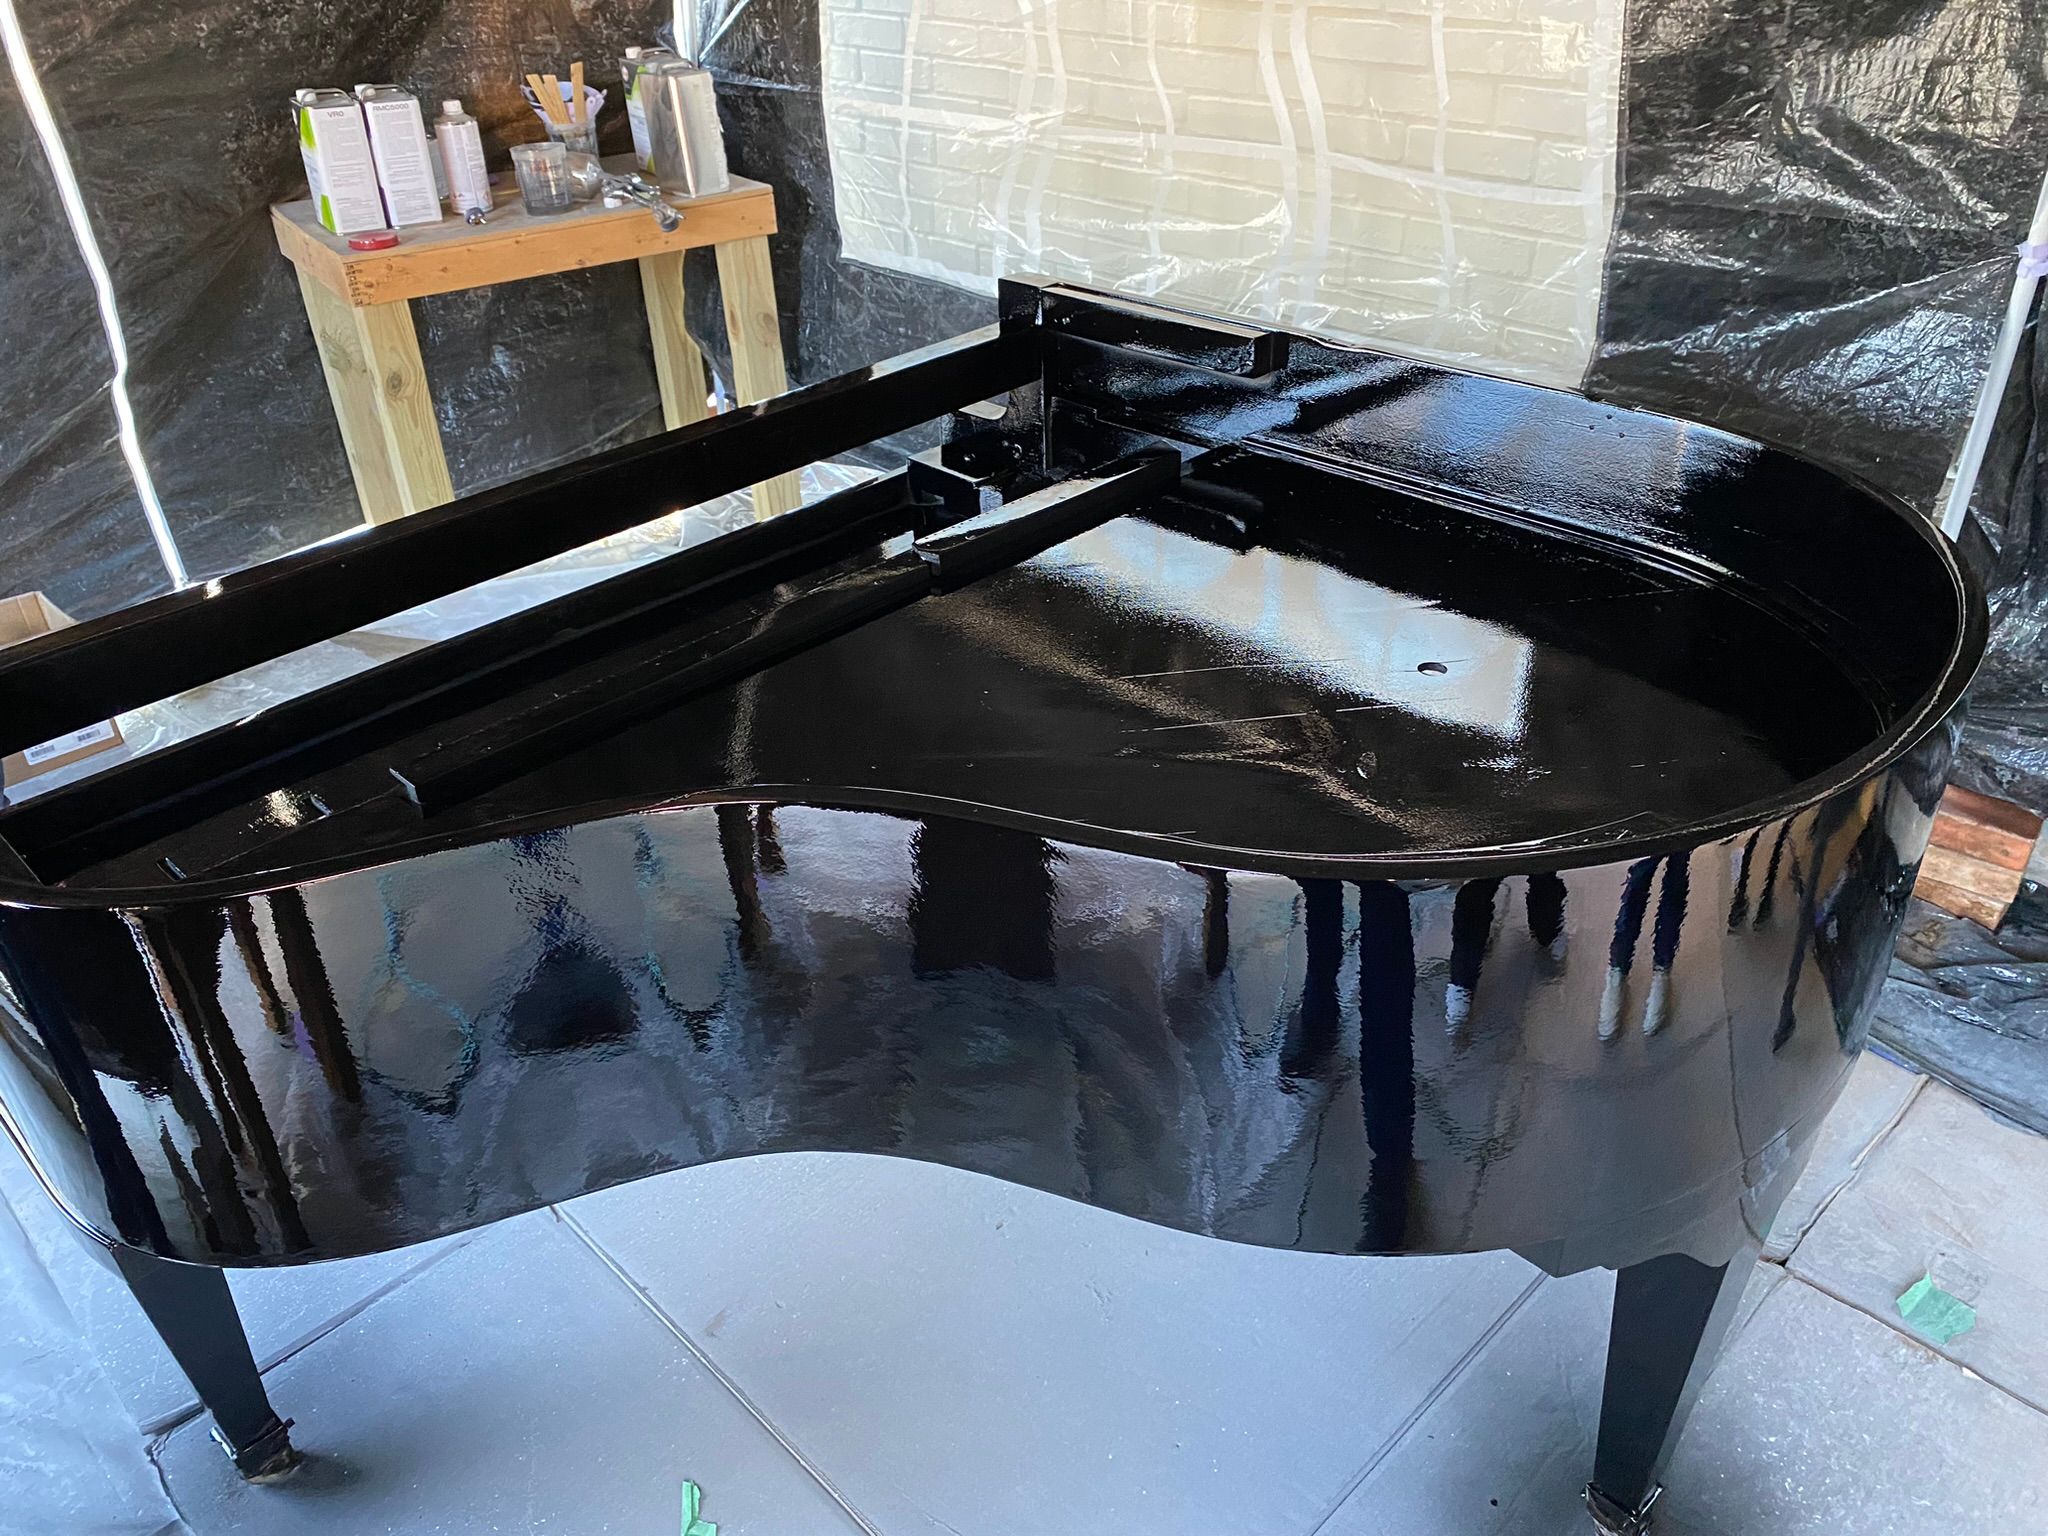
As you can see, it is very shiny already. It's dry in the pictures, but not really dry enough to touch yet. We needed to let it dry overnight before attempting to move it anywhere. My brother-in-law wasn't happy with how the legs turned out, so he decided to take those, along with all the various pieces back to his shop where he can hang them properly and get the paint an clear applied correctly. He'll buff them, and return with them all in a few weeks. He'll also buff out the main body at that time, which should smooth it to a clean mirror-like shine!
Stay tuned, there's more to come.